Checking That the Dante Via Sound Device is Enabled in Windows
When Dante Via is running in Windows, a Dante Via ‘sound device’ is instantiated, which allows the operating system to route audio to and from Dante Via.
In order for Dante Via to function, this sound device must be present and enabled. If it has been removed or disabled (by a user, or by Windows itself) you should see the following icon at the top right of the user interface:

Hovering over the icon will display text indicating that the input, output or both devices are not enabled.
Note: This icon can also indicate that Dante Via is not set as the default audio device for your computer (see User Interface Notifications for more information).
There two places in Windows where the sound device can be enabled, disabled or removed – the Control Panel sound settings, and the Device Manager.
Control Panel Sound Settings
To open the Control Panel Sound settings, open the Windows Control Panel and click ‘Sound’.
If Dante Via is running, you should see a ‘Dante Via Transmit’ device in the Playback tab and a ‘Dante Via Receive’ device in the Recording tab.
A green tick indicates that the device is enabled and set as the default device:

If the Dante Via device is disabled, the icon will be greyed out and listed as ‘Disabled’:

To re-enable the device, right-click the device and select ‘Enable’.
If the icons are not present when Dante Via is running, reinstall Dante Via.
Device Manager
To open the Device Manager, click Start and type ‘device manager’.
The Dante Via entry should be listed under ‘Sound, video and game controllers’. If it is not present, reinstall Dante Via.
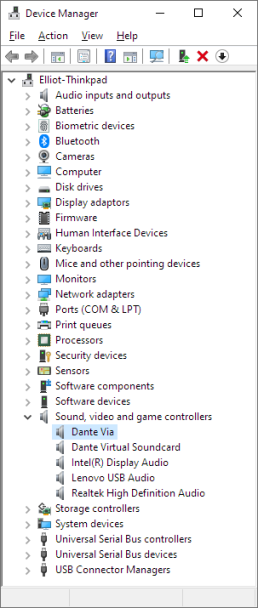
If the device has been disabled, it will appear as shown below:
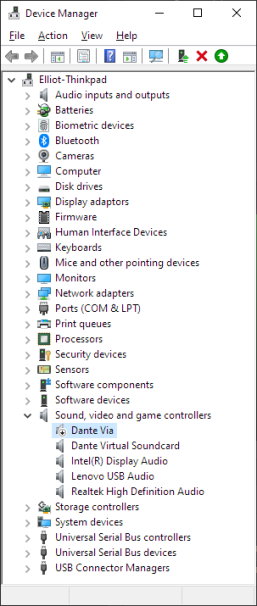
To re-enable it, right-click the Dante Via entry and select 'Enable device'.
Note: When Dante Via is running, it will also appear in the Device Manager as Receive and Transmit devices under <computer name> / Audio inputs and outputs.